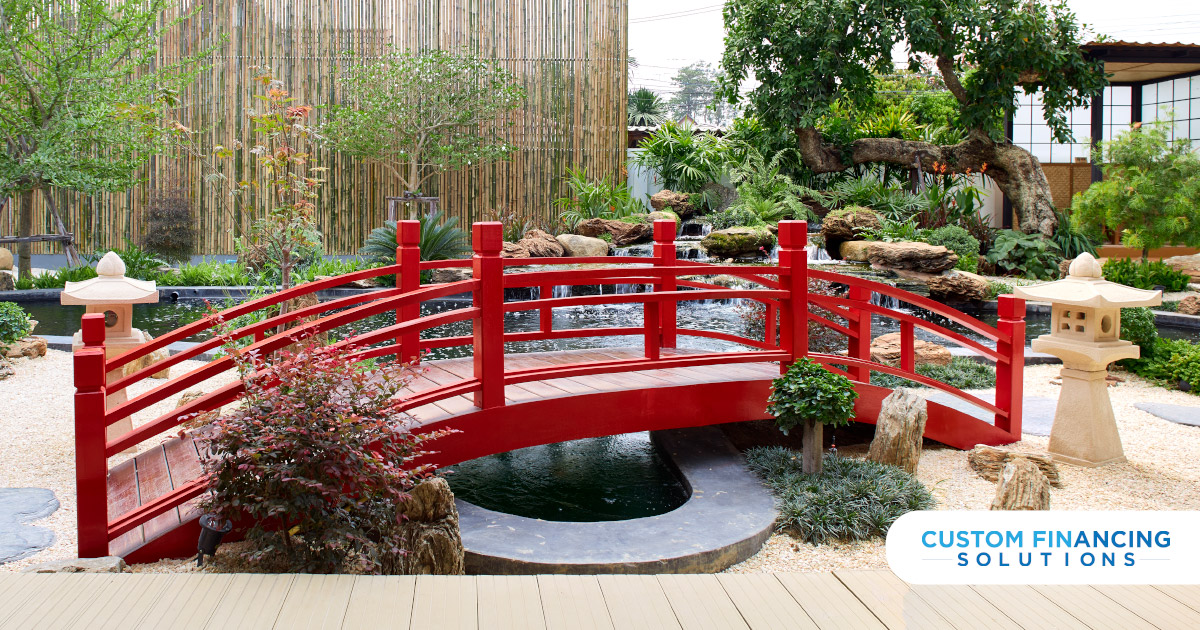
We can improve the backyard with many additions. If the area is big enough, a small arched bridge can be an amazing idea.
Let us go over how you can build one for your client.
Preparing The Area
The flat yard has no use for a bridge. Dig a small trench (approx. 10-15 inches deep) with length according to the backyard. The breadth can be 12-16 inches wide to make the bridge workable. Fill it up with gravel (you can add water later).
Take a level and dig two footings for the bridge on either side of the trench. These will be the start and endpoints of the bridge.
The Arched Base
The arched element makes this idea unique. Use a circular saw to shave off wood, making an arc. Smoothen the area and use the first piece as a reference for the others in terms of shape and size.
The Structure
Install two posts at both ends of the footing. Fix the arched base on the inner side of the posts. Use industrial glue to hold them and screws as an additional layer of strength. Add a second layer of the arch on top using the same holding materials. This creates a sturdy base on the first side. Repeat the process on the other side and add a piece of bracing at the top of the posts.
Centre Posts & Blocking
The ends are not enough to repeatedly take the load. Fix two posts on either side at the center. Pair this with two arched bases fixed back to back and running through the middle of the bridge.
Add a blocking for support. This piece rests at the base, joining both the center posts through the arch to prevent it from twisting and breaking under pressure.
Decking
Put up an overhang at the start and the end of the bridge. Use an identical decking board and start installing from one end. We advise using construction adhesive and screwing the board on both sides for more support. Leave a quarter of an inch between each additional board to help with drainage.
Railing
Railing adds support and safety to the bridge. The breadth of these vertical bars can be adjusted according to the requirement. That determines the gap between two consecutive bars. If they aren’t running full-length, you will need to add rail support at the hanging end. It ensures that the bars stay in place.
There is an additional feature that can be clubbed within this point- handrails. Handrails are crucial to help the user maintain balance by giving an area to grip.
Finishing
These are the final steps before the arched bridge can be used.
Sanding- Sand the entire bridge, especially the handrails, railing, and flooring. This helps make the surface smooth and removes splinters.
Painting- Paint the bridge according to your customer’s preference. Use paints that can survive the outdoor conditions and protect the wood from decay.
This job requires patience and precision to be completed perfectly. But when done right, can add an extra layer of style to the backyard. This project asks you to work with wood. Here are some must-have tools for a woodworking contractor.
We make our blogs at CustomFin to improve your knowledge. We also offer easy payment options to your customers so that you can close more deals.
Get started now and grow your business.