Hugely popular during the 20th century, we can find popcorn ceilings in many homes. They are also known by other names such as acoustic ceilings, stucco ceilings, or even cottage cheese ceilings. This is because of its textured look and feel.
It’s most commonly used for bedrooms or basements because builders thought of it as a good option to help dilute sound or cover up more visible problems. These may have been welcomed by the builders of that time, but homeowners now describe these as an eyesore. If the unappealing aesthetics weren’t enough, cleaning and maintaining them is also a tedious task. Cobwebs and other bits of dirt can easily get stuck between the bumps and if you press too hard while cleaning, pieces of it can chip off and fall.
Owners might contact you to remove popcorn ceilings, and like every other job, there are some tips you should follow.
Test For Asbestos
Initially, asbestos was used in the industry. However, later it was found to be dangerous for health. Prolonged exposure can result in shortness of breath, coughing, and even permanent lung damage. Testing for asbestos in the ceiling should be the first thing to do. There are kits available with which you can send a sample to the lab to find out if the ceiling is free from it or not.
Get The Right Tools
Like a woodworker requires some must-have tools, the right tools are necessary for every job. It ensures perfection in work and the least complications & accidents. In this case, the tools required are quite simple ones. You will need a water sprayer, a putty knife, a ladder, safety goggles, and a protective mask.
Cover The Floor & Furniture
You would require to scrape off a layer from the ceiling so naturally, it would fall on the floor. To avoid a deadly cleanup, use a sheet of plastic. If possible, move the furniture out of the room. Cover up the floor and the remaining objects with a cloth or plastic sheet. Cover up the vents of the HVAC system as well.
Other precautions include covering yourself in protective gear. Use goggles, masks, and gloves to protect yourself from dust and other elements.
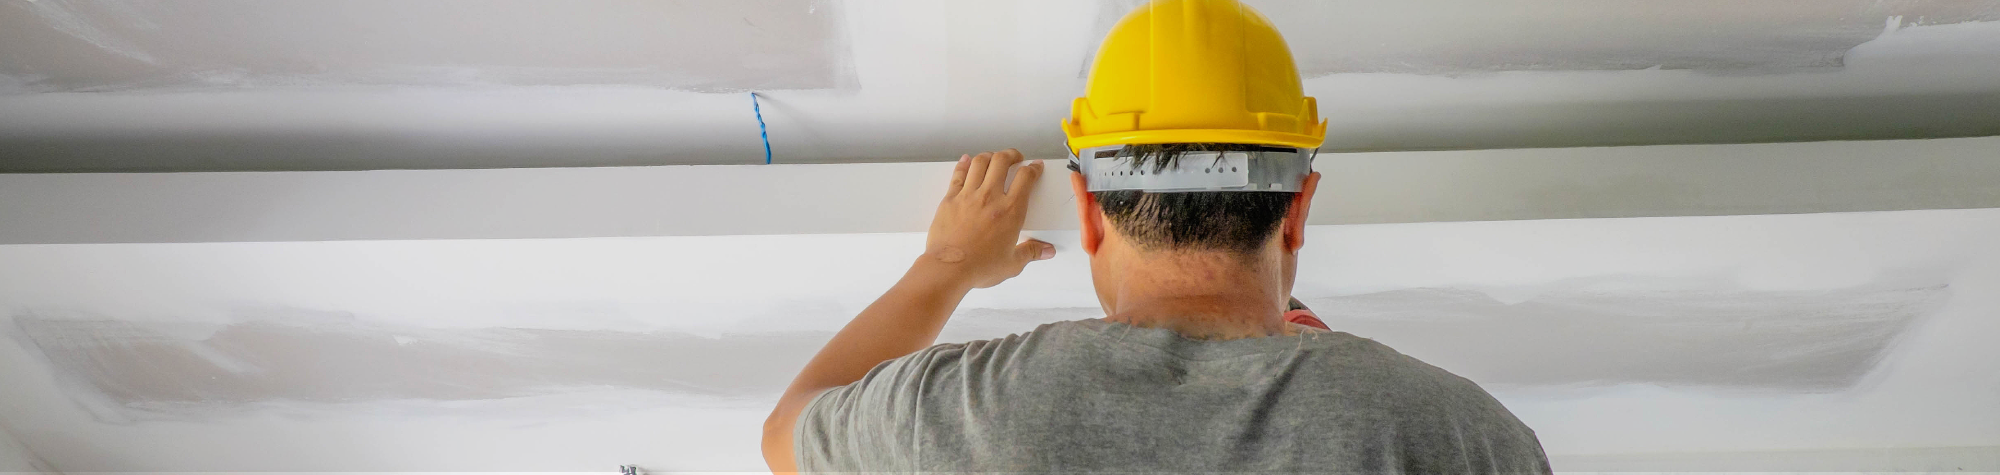
Scrape The Popcorn Ceiling
Use water to wet a small area of the ceiling. This is because scraping a wet area is easier than doing the same on a dry one. Move through small patches, wetting the area with a sprayer. Wait for approximately 15 minutes before removing the popcorn ceiling using a putty knife. Be patient and move slowly; spraying water in a larger area can harm the ceiling underneath. Continue until the room is finished.
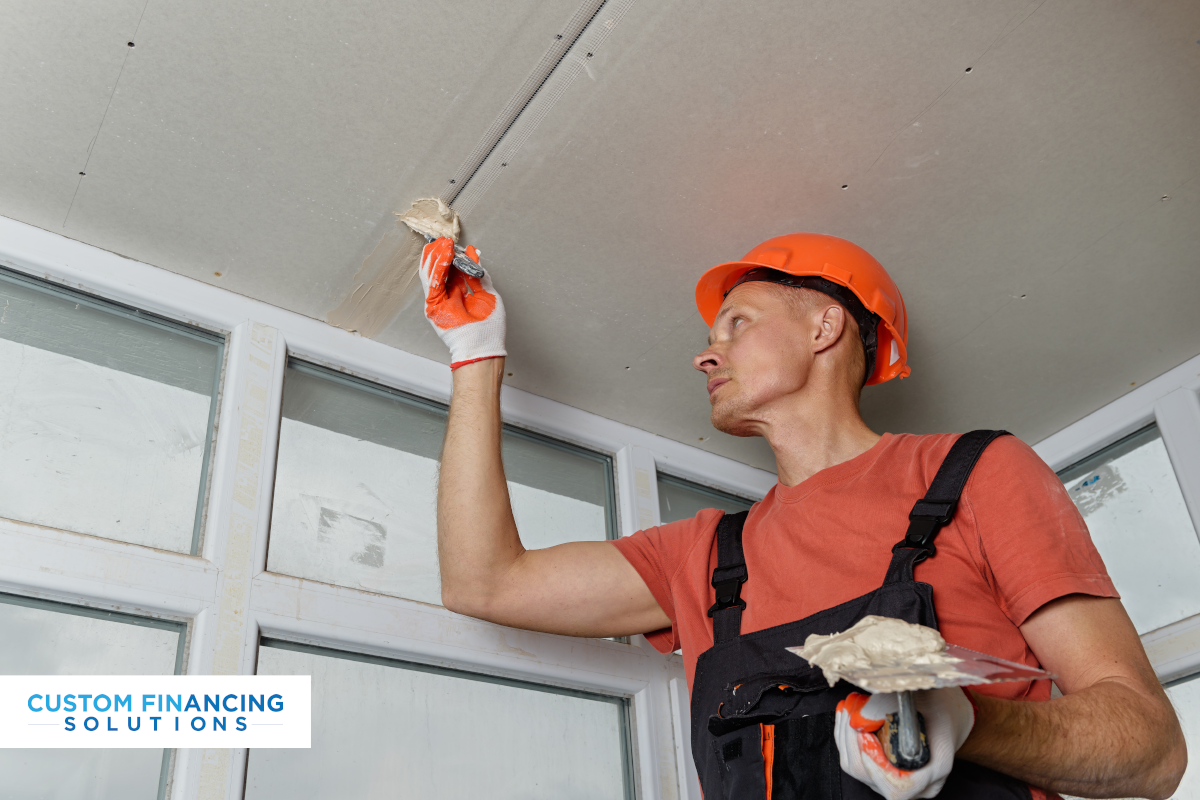
Finishing
You can ask your client for their preference. Now that the popcorn ceiling is gone, they can repaint the ceiling or create a false ceiling. Regardless of what they decide, use sandpaper to sand the surface. Use primer and offer to apply a fresh coat of paint. This will help secure the ceiling and impress your client.
These tips will help you achieve excellent results. Many homeowners look to remove this ceiling as early as possible. If they wish to replace it with a false ceiling, here are tips to install false ceilings.
If they are waiting because of cash, we could help you move the deal forward. We at CustomFin provide financing to your clients & help you get that ‘Yes’.