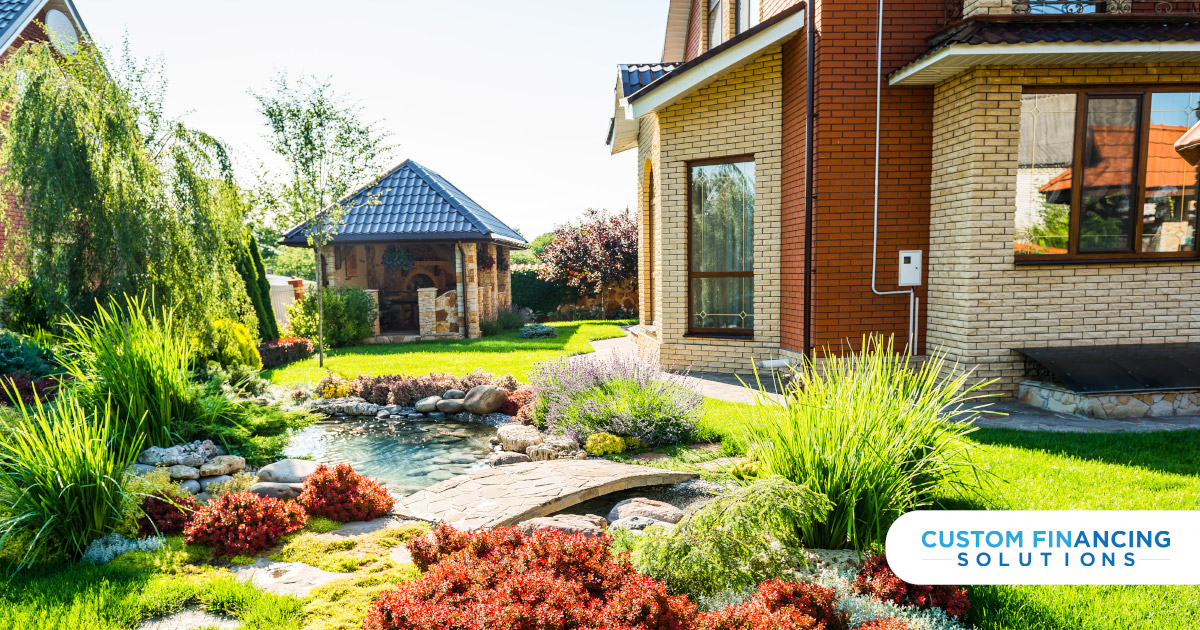
Outdoor projects are exciting to tackle. There are many options that you can suggest. An amazing addition to your customer’s backyard is a pond.
It is a recommended change if your client wants a relaxing backyard. A backyard pond is one of those projects that seems complex but is quite simple once you understand the basics. That’s where we come in. Here’s how to conquer building a backyard pond.
Select The Location
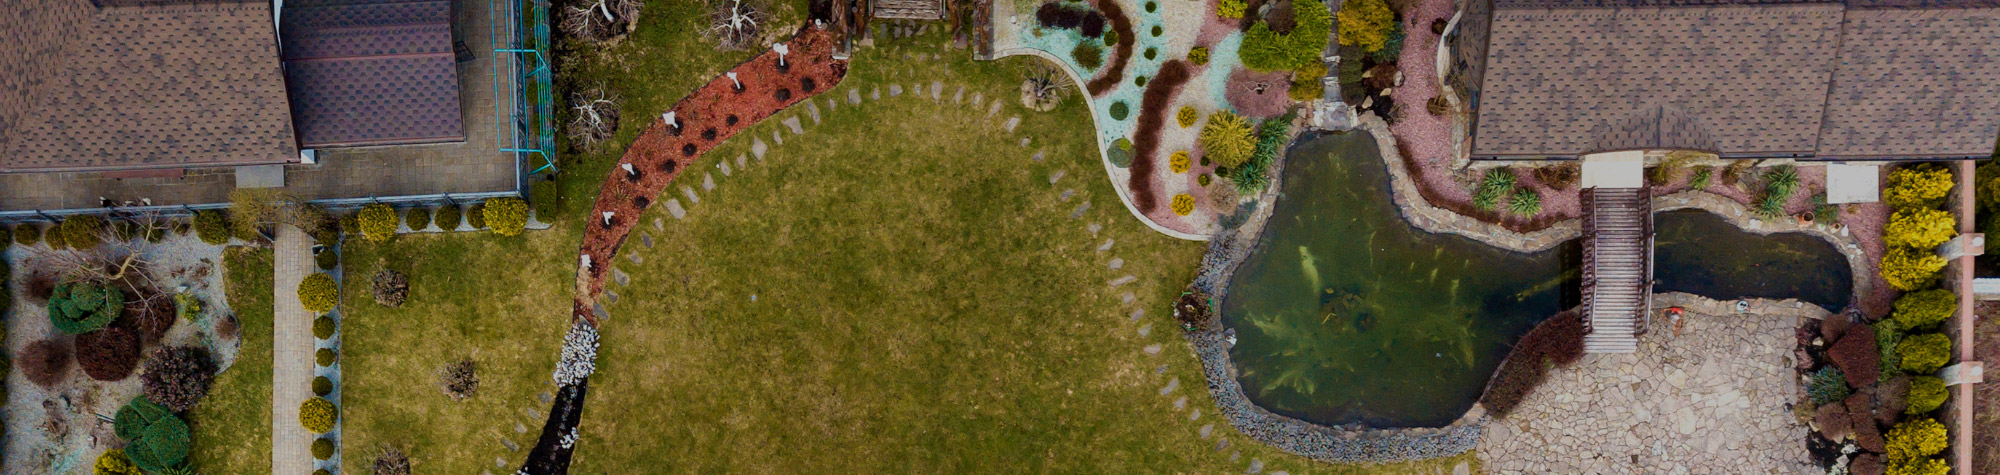
Select an ideal location for the pond. The pond survives longer if you create a small ecosystem for it to thrive. This requires equal amounts of sun and shade. Too much sun will heat the water and too much shade means the flora won’t have sunlight to convert. This does not mean that you plan the pond right beneath a tree. The roots of the tree go deep and will come in the way.
The best location is a decent distance from the tree. Mark the location. Select a defined shape for a professional look and an irregular shape if you are aiming for it to feel natural.
Excavate
Now that you have marked the area, time to dig. Use a shovel to work on the area. The pond should be a minimum of 2 feet deep (4 if the location is in a colder climate).
For a splendid pond, we suggest creating layers. Dig the first layer 8-10 inches deep. The other layers should be more towards one side. The total should be around 24 inches (2 feet). You can use the excavated soil around the perimeter later.
Install Liner
The liner is a layer between the water and the soil. It prevents any leakage and comes in fixed and flexible variants. Fixed ones are best for ponds that follow a structure whereas flexible ones are for irregular shapes.
Clear the excavated part and remove any stones and debris. Carefully fix the liner to the base, making sure that it doesn’t get damaged.
Filter & Waterfall
One is a necessity, and the other completes the pond. The filter keeps the water clean and makes it habitable for the flora and fauna inside. Together, they work to create a continuous flow of water.
Place both of them on opposite sides. Install the waterfall at an increased height than the pond. The filter goes on the other end. Connect them using the pipe and hide from view using the excavated soil. The water goes through the filter, passes the pipes, and re-joins the pond via the waterfall.
Finishing Touches
Use water-resistant materials like rocks or marbles around the perimeter to finish the layout. Pump water inside the pond leaving 2 inches from the top. Add plants and fishes to it.
The pond will lose a small amount of water every day because of evaporation. Ask your customers to maintain the water level for a healthy system.
Avoid making these mistakes while working outdoors and follow the steps mentioned above. This will lead to a brilliant end product.
We make our blogs at CustomFin to increase your knowledge. We also offer easy payment options for your customers so that you can close more deals.
Get started now and grow your business.