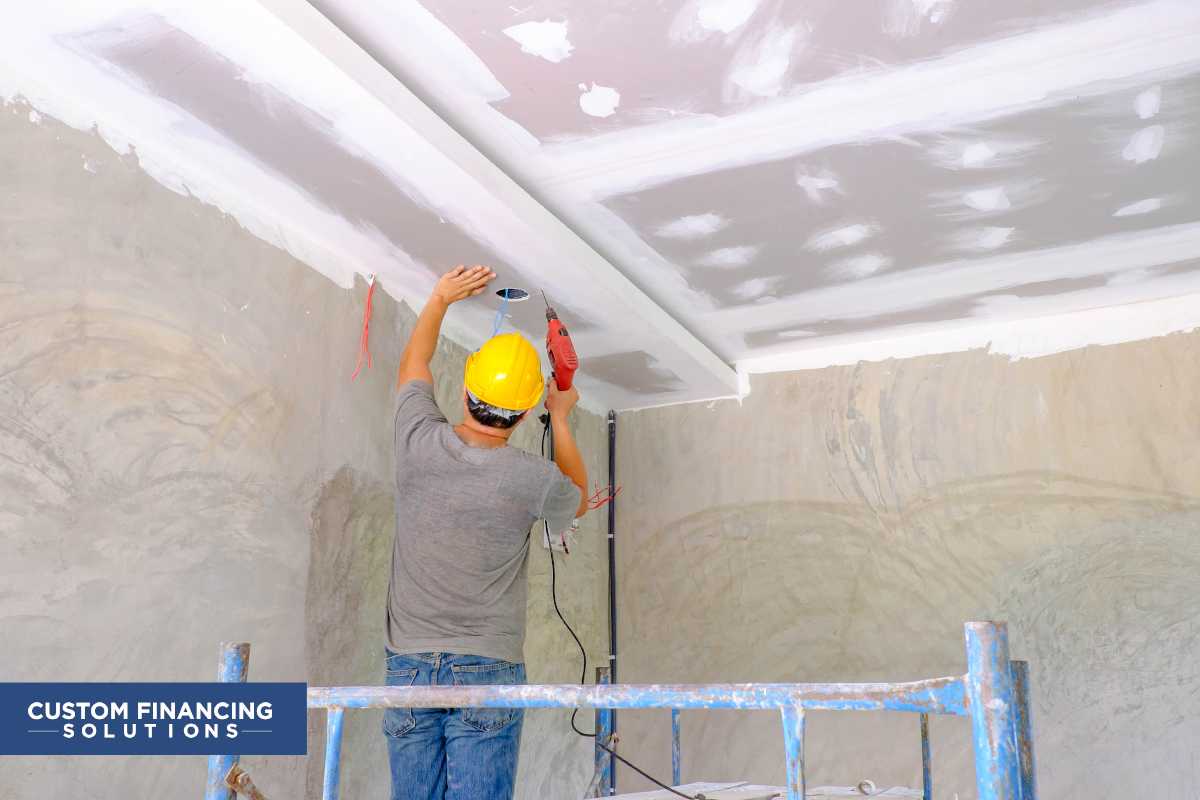
Many homeowners and businesses wish to beautify their homes and offices with the inclusion of false ceilings. A false ceiling is both unique and functional.
A false ceiling (also known as a suspended ceiling or dropped ceiling) is a second ceiling suspended at a lower height than the original one. Besides making the place aesthetically appealing, it also helps in hiding exposed wiring and air conditioning ducts.
Let’s talk about how to install them correctly.

Pre-Game Plan
Take the exact measurements of the ceiling and plot it out on paper or a graph. Mark the joists and draw a rough panel layout before going to buy the panels. This will help you figure out the exact amount of materials required to finish the project.
The Panels
You can go with the classic or the fancy ones depending on the ask. The panels themselves are generally of 2×2 foot and 2×4 foot sizes. With the layout, you can figure out the exact number of panels required, but it is advised to keep a few extra ones in case of emergencies.
The common ones used are pre-fabricated panels or gypsum sheets with more unique options like wood panels also available.
Height Of The False Ceiling
The next thing to consider is the height at which the false ceiling will rest. A four-inch clearance between the two works out well in most cases.
The Installation
Step 1: Create a strong base by taking into consideration the beam placements of the original ceiling. The original ceiling might not be even; while putting up the framework for the new ceiling, use a spirit level to make sure that the framework is perfectly even.
Step 2: Using the height marked before, fix the framework onto the wall and suspend it from the ceiling. If lights or other fixings are supposed to sit on the false ceiling, then this is the step where you should plan the wiring and exit points.
Step 3: Next, you should put up the insulation panels. Arrange them close to each other without leaving gaps in between. Take the necessary precautions, like wearing gloves, masks, and safety glasses.
Step 4: After the insulation panels, you are now ready to install the false ceiling on it. Start the installation from one corner, moving in one direction, and completing a row first. The screw fixings should be at an interval of 20cm from each other.
Leave an approximate 8mm gap between the panel and the wall for expansion. After completing a row, move on to the next. You might face the challenge of limited space on the ceiling for the panel. To deal with that, you can measure the requirement and carefully cut & resize the panel to fit in.
Step 5: After finishing, carefully look for rough edges throughout the space. Smooth them out with sandpaper to give a perfect finishing touch. You can also use finishing strips over the edges to ensure a clean look.
Following these will help you in a hassle-free installation. Many people prefer to pair it with new flooring, to complete renovation. But with multiple flooring options available, which one would you suggest to your client. Click here to know everything about two of the most used flooring options, marble & wooden.
Hope our tips & guides help you to stay ahead of the competition. We also provide home improvement businesses in financing their clients.


