
Installing flooring can take hours, or days, depending on the type of flooring your client chooses. You should be able to fulfill this request with no problems. If you are shaky on the details of installing laminate wooden flooring, you are at the right place. Let’s understand what it is, its benefits, and how to install it.
What Is Laminate Wood Flooring?
This is a laminated type of flooring that resembles wooden flooring in appearance. The synthetic layer looks like wood. In most cases, it is fibreboard wood in between sheets of plastic laminate.
Flooring type matters to many people. Homeowners love wooden-type flooring because of its elegant look. It also goes well with almost every style of internal décor.
Advantages
Laminate wood flooring has many advantages. These are the prime reasons people opt to have this in their homes.
Economical: It keeps the amount of wood used in this to minimal. This leads to them being cheaper than real wood flooring.
Durability: These are extremely durable. The laminate coating makes them scratch-resistant. Unlike their counterparts, wood laminates are also safe from damage caused by moisture.
How To Install
Now let’s talk about how. The right tools are necessary to finish a project. For this, you will need laminate floors, a pry bar, a hammer, nails, and a saw (manual or powered).
- The first step is optional, but doing this helps with the process. Leave the flooring in the room for 24-48 hours. This gives the wood time to expand and adjust according to the temperature of the area.
- Use the pry bar to remove the baseboard attached to the wall. Do it carefully to avoid breakage.
- The next task is to attach underlayment to the floor before installing a laminate floor over it. It comes in sheets or a roll which can be cut and adjusted with a sharp knife. The underlayment acts as a sound absorbent and improves the rigidity of the floor. Some laminates already come with underlayment padding.
- Plan the layout before starting. Some owners like having the floor give an impression of continued flooring from other rooms leading to this one. If that is the case, you will need to cut the floor panel. You can cut using a saw. Note that for a power saw, keep the laminated part face-down to avoid splinters on them. If you’re using a manual saw, keep the laminated side up.
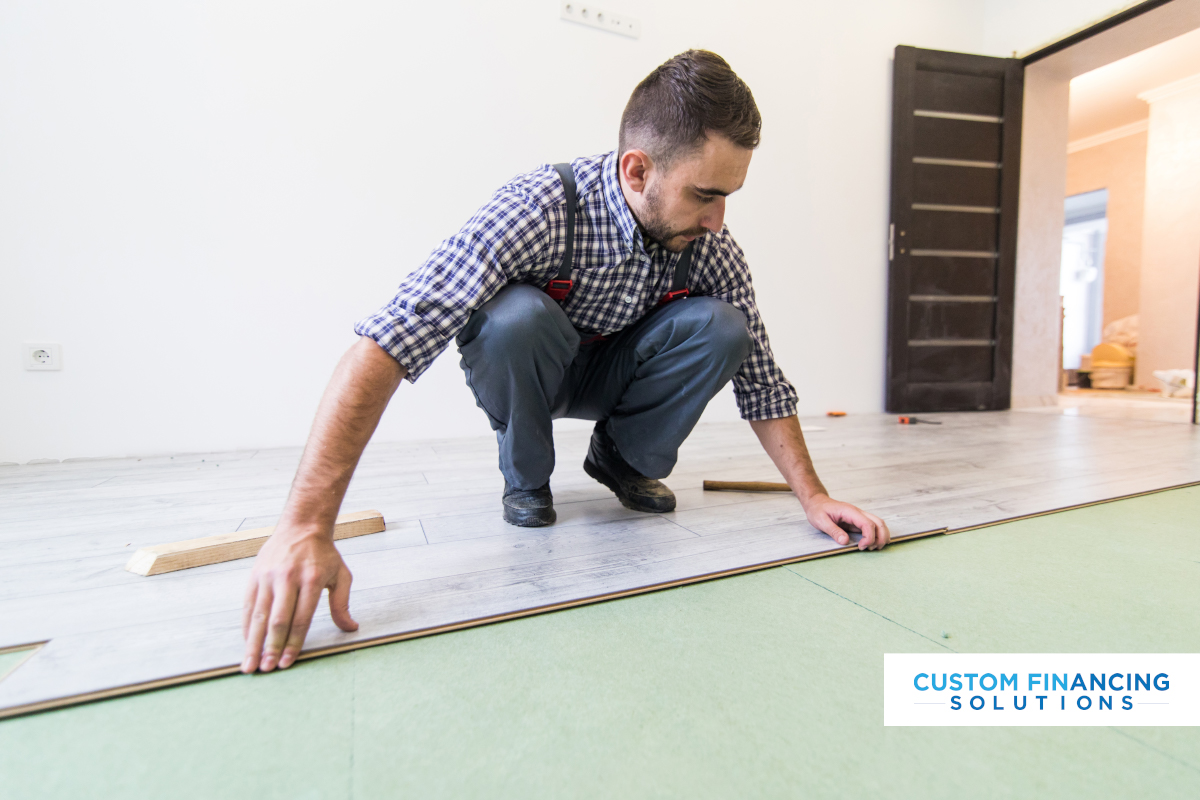
- Start attaching the flooring one by one to form a row. Leave 1/4th of an inch when you near the walls for expansion. We will cover this gap up later with the baseboard.
- We connect the planks with each other by fitting them in pre-made grooves. You should be able to connect them with a hand, but you can use a hammer if needed.
- Repeat the procedure for the entire room. When dealing with casings in the wall, cut the plank to fit around it.
- Using a hammer and nails, re-install the baseboard to finish the job.
If your client wishes for real wooden flooring but is confused, here’s the answer to the duel of wood flooring vs marble flooring.
Our blogs at CustomFin help you learn new and useful techniques. We also link with contractors to provide financing to their clients.